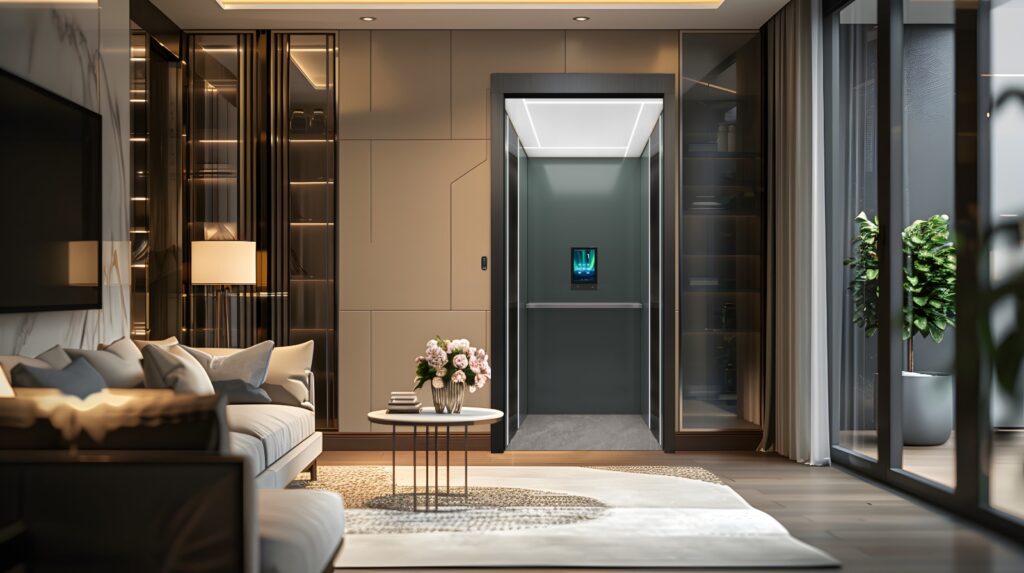
Installing a lift in your home or commercial building can make life easier, add value to your property, and improve accessibility. But before you start, it’s important to understand the steps involved in the lift installation process. Whether you’re adding a lift for convenience, accessibility, or future-proofing your home, here’s a simple guide to what you can expect during the installation process.
1. Planning and Consultation
The first step in installing a lift is planning. This is where you’ll determine where the lift will go, what type of lift you need, and how much space you have available. You’ll work with a consultant who will guide you through the different lift options and help you choose one that fits your space, needs, and budget.
Key things to consider at this stage include:
– Space available (footprint and headroom). Consider if you are adding a shaft, to allow at least an additional 200mm on each side of the lift
– Are you wanting your lift to fit a wheelchair? If so the dimensions need to be slightly wider: 1.1m * 1.4m at a minimum.
– Number of floors the lift will cover
– Type of lift: hydraulic, electric, or a shaftless platform lift
– Custom features like a glass and steel shaft, design, door options, and finishes
– Do you need a shaft to be built? If your builder is already on site, consider asking them to build the shaft at the same time to save costs.
2. Site Assessment
Once you’ve chosen the lift, a site assessment will take place. A professional will visit your property to check the dimensions, structural integrity, and installation feasibility. They’ll look at things like:
– Footprint (the space available for the lift)
– Headroom (space above the lift for operation)
– Pit depth (a small hole below the lift, usually required for the mechanism)
– Structural support for the lift shaft (if needed)
This step ensures that the lift will fit and function properly in your space.
3. Design and Permits
Before installation, you’ll need to have the lift design finalized and submit it for approval. For class 2 commercial buildings, this may require building permits or compliance with Australian safety standards. Your builder will usually take care of this, but it’s important to confirm that all paperwork is in order.
For residential lifts, permits are often simpler, but compliance with Australian standards is still required to ensure safety and functionality.
4. Construction Preparation
If your lift requires a shaft or pit, construction will begin to prepare the space. This might involve building a new structure or modifying existing walls and floors to make room for the lift. For some lifts, such as capsule or platform lifts, you won’t need extensive construction because these lifts don’t require a pit or a large shaft, making installation quicker.
This phase also includes installing the necessary electrical wiring and control systems.
5. Lift Installation
Now, it’s time to install the actual lift! Depending on the type of lift you’ve chosen, this process can take anywhere from a few days to a few weeks.
The lift will be assembled and fitted into the prepared space, with technicians carefully ensuring that all components are working properly. This includes:
– Assembling the lift shaft (if needed)
– Installing the lift car and door mechanisms
– Connecting electrical and hydraulic systems (if applicable)
After installation, the lift undergoes thorough testing to make sure it operates smoothly and meets all safety regulations.
6. Commissioning
Once the lift is installed, a technician will commission it, which means they’ll test the lift to make sure it’s safe and compliant with Australian standards. This step is critical, especially for class 2 commercial buildings, as it ensures the lift is functioning correctly before being used by the public or building occupants.
During commissioning, technicians will check:
– Emergency systems (such as alarms or backup power)
– Doors and controls
– Weight-bearing capacity and safety features
Only after the lift passes these tests will it be certified for use.
7. Ongoing Maintenance
After your lift is installed and ready for use, regular maintenance is important to keep it running smoothly and safely. Most installers offer maintenance packages to ensure that your lift meets safety standards and remains in good working condition.
In Australia, lifts need to be serviced regularly according to local regulations, and your provider will usually schedule these checks for you.
Key Takeaways
– The process starts with planning and consultation, where your needs are assessed.
– A site assessment ensures the lift will fit and function in your space.
– Permits and approvals are needed for both residential and commercial projects.
– Construction might be required to prepare the space for installation.
– After the lift is installed, it must pass commissioning to ensure it meets safety standards.
– Regular maintenance keeps the lift running smoothly.
Conclusion
The lift installation process may seem complex, but with the right professionals guiding you, it can be a smooth and stress-free experience. At Lift Experts, we take care of everything from the initial consultation to installation and maintenance, ensuring your lift is installed safely and efficiently.
Ready to install a lift in your home or commercial building? Contact us today to schedule a consultation and start the process!

